Self Build
When focusing on the planning and financing aspects of a self-build project, there are several key areas to consider to ensure a smooth process from conception to completion. Here’s an overview
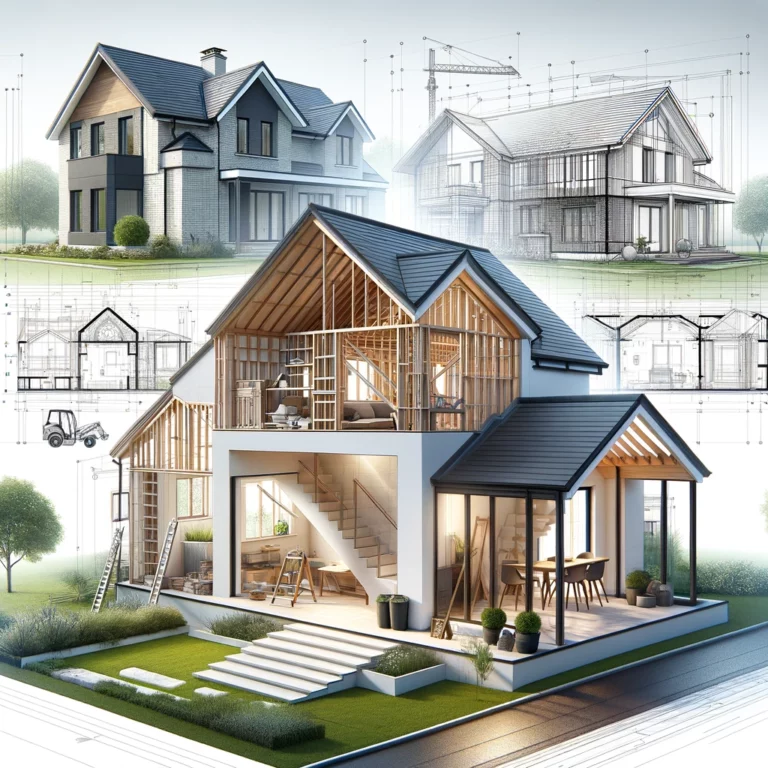
Planning Stage for a Self Build
1. Research and Site Selection
- Identify Your Needs: Determine what you want from your self-build project, including size, design, and functionality.
- Site Selection: Research and select a suitable plot. Consider factors like location, orientation, access, and any existing planning conditions or restrictions.
- Local Needs: Check out our local needs page for more information on this topic. Basically, it is crucial to ensure you will meet local needs before moving on to the next step. planning authorities can be stringent on this requirement and you should make every effort when preparing this aspect of a planning application.
2. Feasibility Study
- Site Analysis: Conduct a detailed analysis of the site, including soil conditions, topography, and any potential challenges.
- Budget Estimation: Estimate the overall cost of the project, including land purchase, design, construction, and contingencies.
- Preliminary Design Ideas: Start sketching out design ideas, possibly with the help of an architect or designer.
3. Pre-Application Consultation
- Engage with the Local Planning Authority (LPA): A pre-application consultation can provide valuable feedback on your initial proposals and highlight any potential issues.
- Community Engagement: It might also be beneficial to engage with the local community to gauge their reaction to your plans.
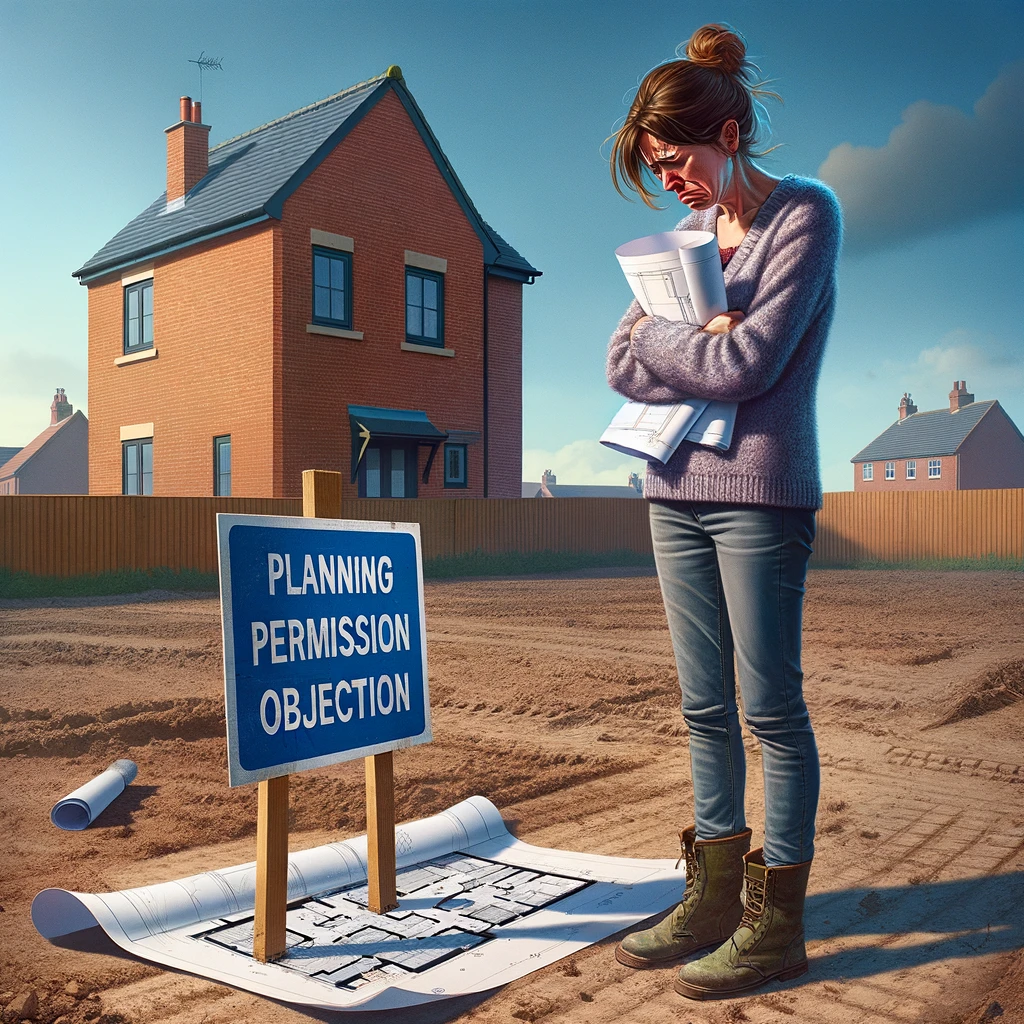
This could be as simple as visiting your potential future neighbour for a cup of tea and discussing your ideas. This can save headaches further down the road when you have paid an architect for the perfect design only to find the neighbour has objected to your application due to window positioning or similar.
4. Detailed Design and Planning
- Hire an Architect or Design Team: Assemble a team of professionals, including an architect/engineer, surveyor, and possibly an environmental consultant if the site requires more investigation, to develop your design.
- Develop Detailed Plans: Your architect will develop detailed plans and drawings of your proposed build, considering both your desires and any feedback from the pre-application consultation.
- Planning Application: Prepare and submit a comprehensive planning application to the LPA. This will include your detailed plans, a site plan, and possibly an environmental impact assessment.
It’s best to visit our dedicated guide for more information on the application process.
- Validation: The LPA will check your application for completeness and validate it.
- Public Consultation: Once validated, your application will be subject to a public consultation period, where neighbours and other stakeholders can view the plans and submit comments.
- Decision: The LPA will make a decision on your application. This can involve approval, approval with conditions, or refusal. If refused, you can make modifications to your plans and resubmit or appeal the decision.
6. Post-Planning
- Discharge of Conditions: If your application is approved with conditions, you’ll need to meet these conditions, which may involve submitting additional details or making certain adjustments to your plans.
- Detailed Construction Drawings: With planning permission secured, your architect will prepare detailed construction drawings and specifications for the build.
- Building Regulations/Commencement Notice: Submit a separate application or notification to ensure your project complies with building regulations, covering structural integrity, fire safety, energy efficiency, and more. For more information on building regulations or if you have concerns about an aspect of an architect or engineer’s drawings, please use our FREE AI Planning & Construction chatbot assistant to answer any questions. (Bottom right of your screen)
7. Preparation for Construction
- Tendering: With all plans and permissions in place, you can tender your project to builders or contractors.
- Contract: Select a contractor and agree on a contract for the construction of your self-build home.
This process can be complex and time-consuming, requiring careful management and attention to detail at each step. Working with experienced professionals can help navigate the planning stages more smoothly and increase the likelihood of a successful project outcome.
Financing a Self Build
Financing a self-build project requires meticulous planning and understanding of the financial products available, such as self-build mortgages, and the stages at which funds are released (stage drawdowns). Here’s a comprehensive guide to navigating the financial side of a self-build, including mortgage applications, stage drawdowns, deposits, and preparing estimates or a bill of quantities.
Understanding Self-Build Mortgages
A self-build mortgage is designed specifically for individuals looking to build their own home. Unlike traditional mortgages, where the loan amount is released in a single lump sum upon completion of the purchase, self-build mortgages release funds in stages throughout the construction process. This is to reduce the lender’s risk and ensure the money is spent as planned.
Mortgage Application Process
- Preparation: Before applying, ensure you have detailed plans for your project, planning permission, and a realistic budget.
- Deposit: The deposit is a crucial part of securing a self-build mortgage. It demonstrates your commitment to the project and reduces the lender’s risk. Saving a substantial deposit can also improve the terms of the mortgage offered.
Typically you need 10% of the total build and site cost for a deposit. It’s recommended to have around 10% of the value of your build saved on top of your deposit to cover any unforeseen costs. Most lenders look for proof of this contingency fund. - Application: Provide your lender with detailed information about your project, including plans, planning permission, and a detailed budget or bill of quantities.
- Valuation and Approval: The lender will assess your application, which includes a valuation of the project to ensure it aligns with your budget and the end value justifies the loan amount.
Stage Drawdowns
Funds are released at specific stages of the build, which can vary between lenders but generally follow this pattern:
- Purchase of Land: If you haven’t already acquired the plot, some lenders release funds to purchase the land.
- Foundations: Release of funds once foundations are laid.
- Wall Plate Level: Funds are released when the building reaches wall plate level (where the roof joists are ready to be installed).
- Wind and Watertight: Once the roof is on and windows are in, the building is secure.
- First Fix/Plastering: Release of funds for internal works, including wiring and plumbing before plastering.
- Second Fix to Completion: Final stages including kitchen and bathroom fittings, and finishing touches.
Estimates and Bill of Quantities
A detailed budget is essential for both planning your project and securing financing. A bill of quantities (BoQ) is a detailed document prepared by a quantity surveyor that lists materials, parts, and labour (quantities and costs) required to complete the construction project. It serves several purposes:
- Budgeting: Provides a detailed forecast of costs.
- Tendering: Assists in obtaining accurate and comparable quotes from contractors.
- Financing: Supports your mortgage application by demonstrating a well-planned budget.
- Payment: Can be used as a basis for stage payments during the build.
Additional Financial Considerations
- Contingency Fund: Always include a contingency fund in your budget, typically 10-20% of the total project cost, to cover unexpected expenses.
- Insurance: Ensure you have appropriate insurance in place from the outset, including site insurance and structural warranty.
- Professional Fees: Budget for fees associated with architects, surveyors, and any legal advice.
- Connection Fees: Don’t forget to account for the cost of connecting utilities.
Navigating the financial aspects of a self-build project can be complex, but with careful planning and professional advice, it’s possible to manage effectively. Always consult with financial advisors and mortgage brokers who specialise in self-build projects to ensure you’re making informed decisions tailored to your specific circumstances.